The Problem
Recently I had to build a prototype for a parking sensor application. The goal was to detect if a parking place is occupied or not.
Since there are multiple approaches to this, I decided to build a cheap module which can be mounted inside a garage (or any other dry place) and which can be powered either by a plain USB charger or by a 9V-Block.
The Solution
For the hardware I decided to go with my TTGOv2 board and LuaRTOS as operating system on it. It has a small display and it enables me to send the data either via MQTT or via LoraWan.
As sensor I choose the ultrasonic sensor HCSR04 because it is supported via LuaRTOS and it does (in opposite to cheap radar sensors) not violate any regulations.
The schematic is quiet simple:
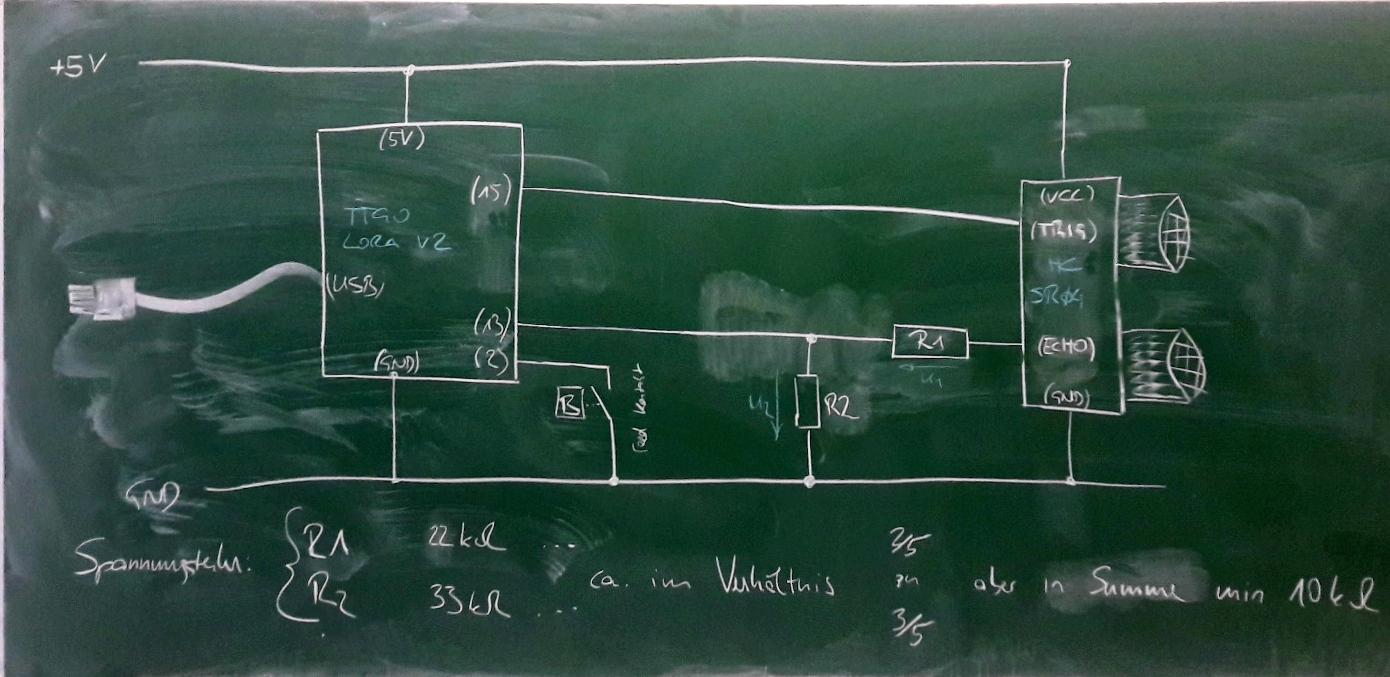
The HCSR04 is a 5V device - which means that it has to be powered with 5V, and that the ECHO signal level is also 5V. This might harm the ESP32 - and so i went with a plain voltage divider to get the desired 3.3v input for the GPIO pin of the ESP.
The fact the the ESP32 only delivers 3.3v for the TRIG signal can be ignored because Voltages between 2 and 5 Volts are interpreted as HIGH signal. If you want to read more about this, have a look at this site which covers TTL signal levels in detail.
The idea for the reed sensor at the bottom is to have a hidden input which can be used to trigger a software update or any other secret functions.
This schematic is missing a plain 7805 linear voltage regulator which enables the project to be run off-grid (at least for a short time).
Build details
Here are some photos of my prototype:
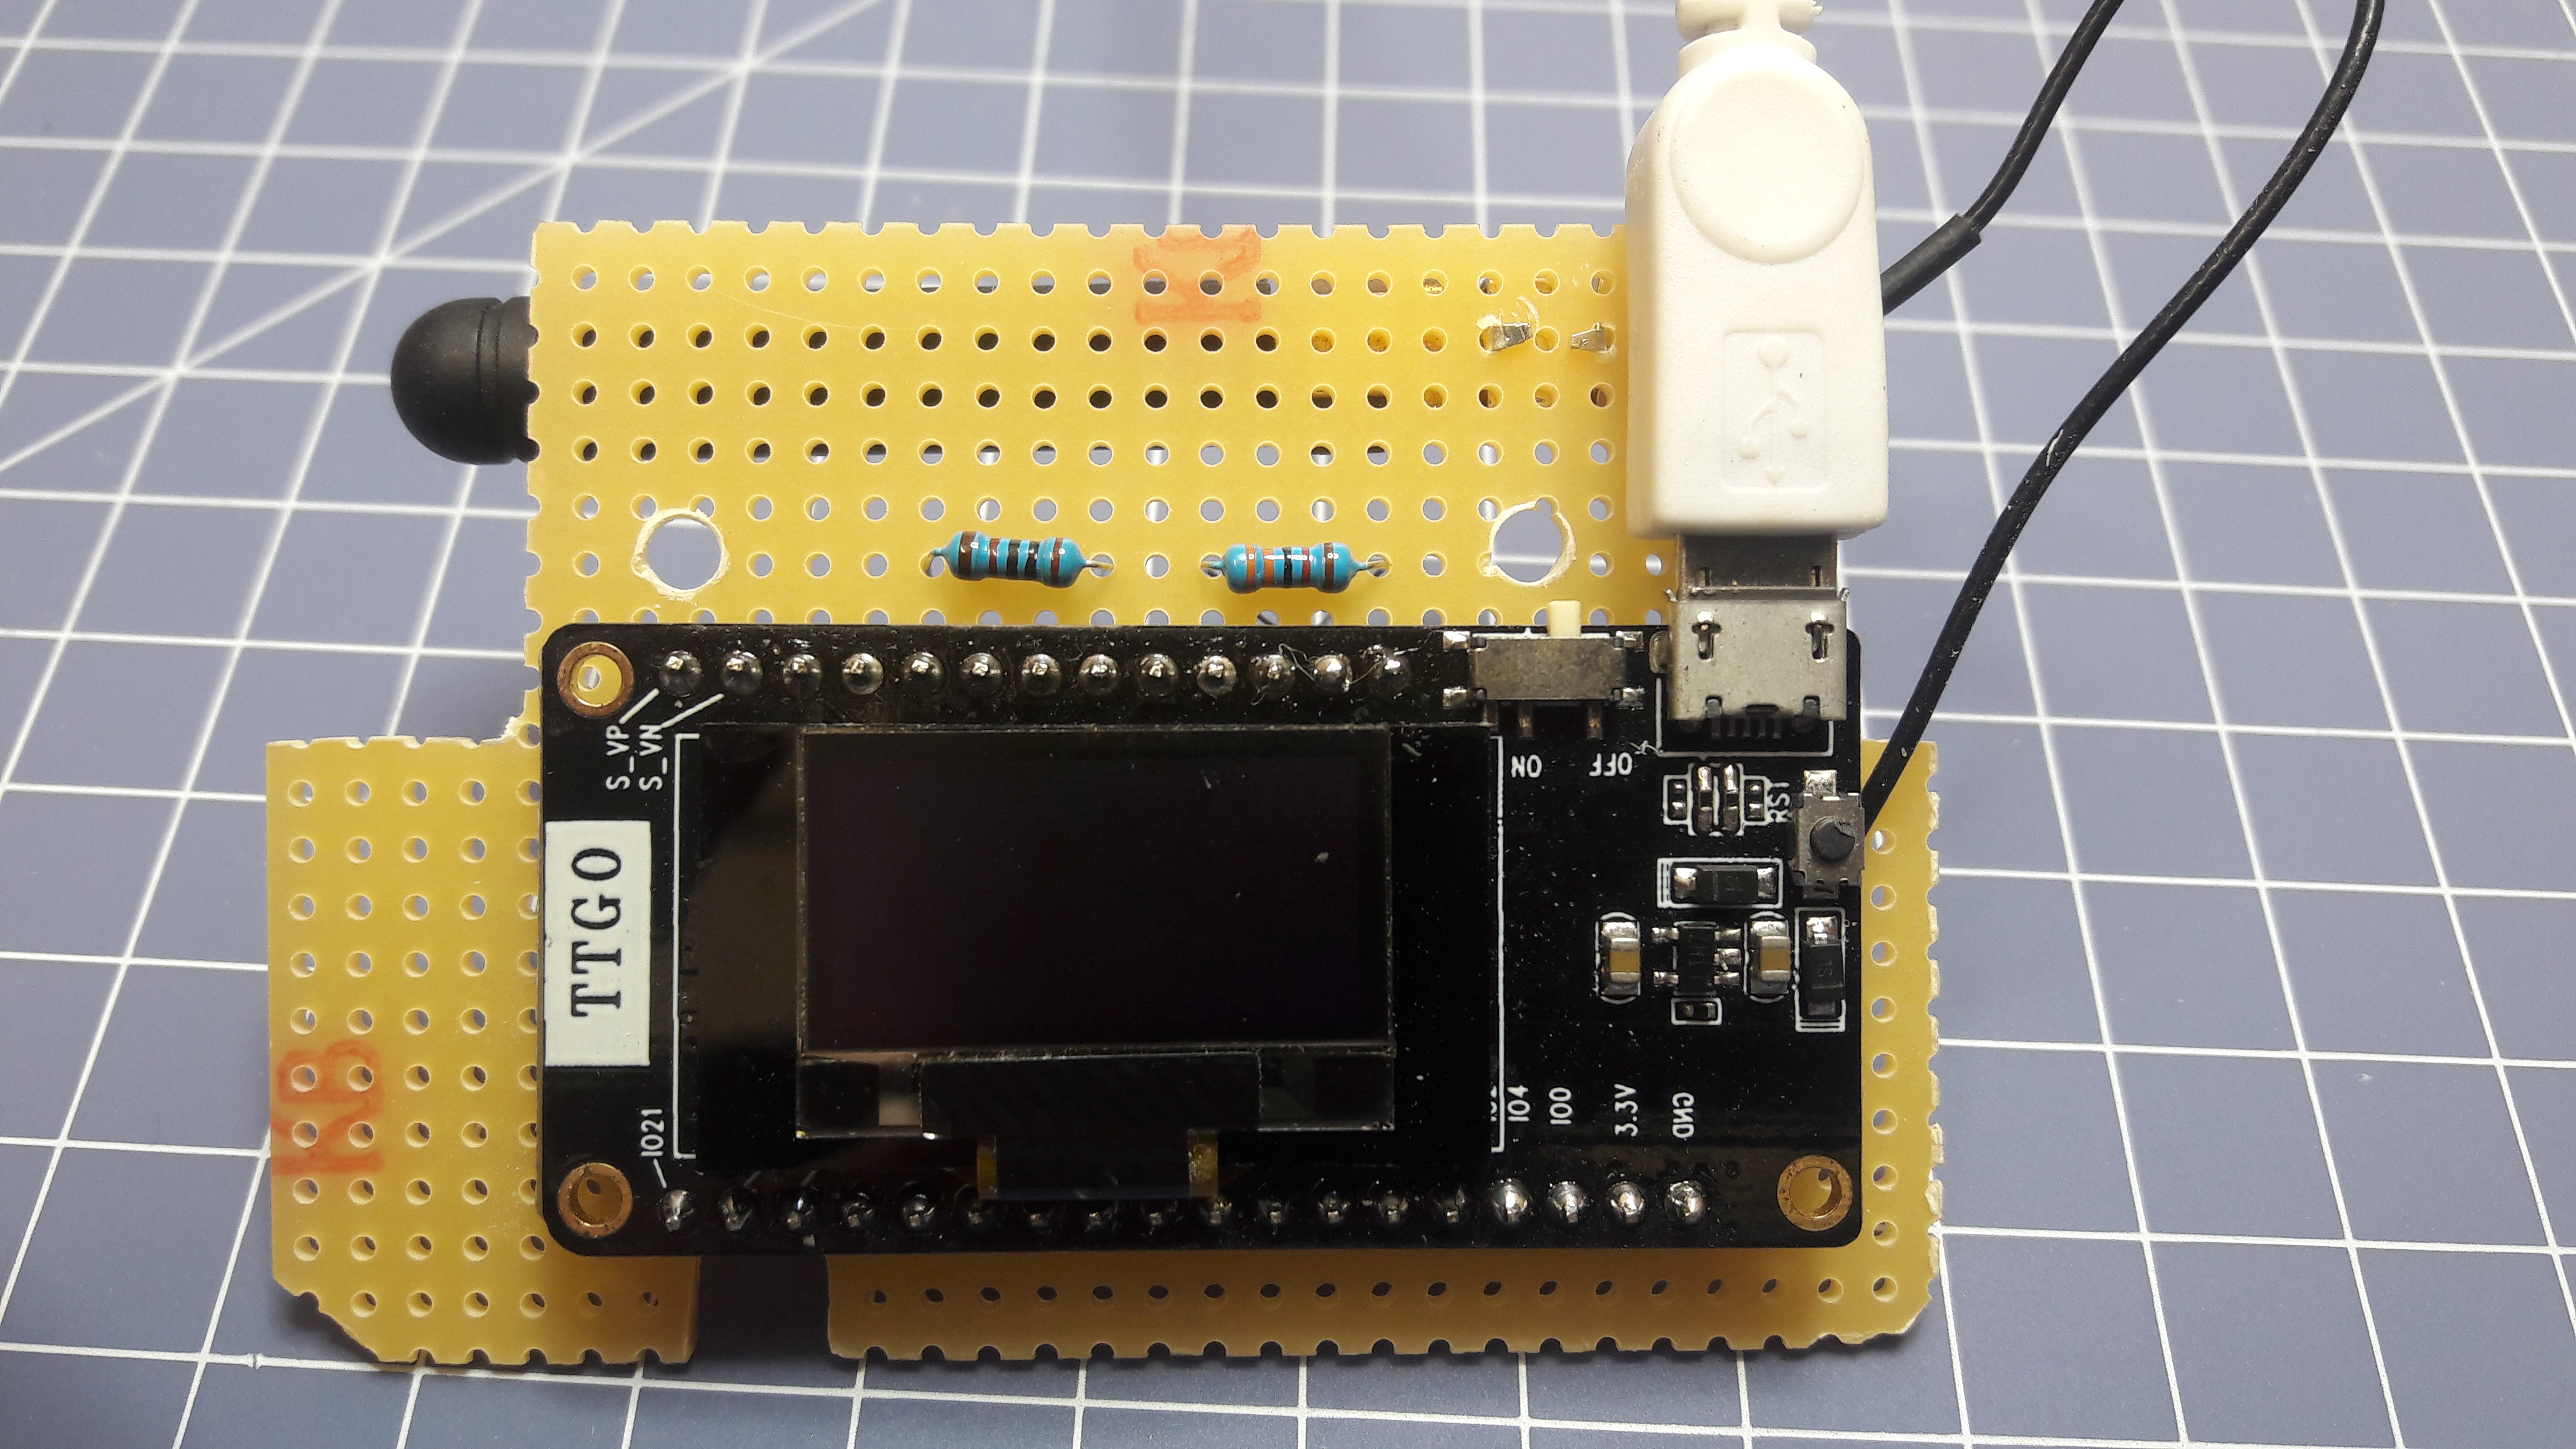
As you can see, I used a cheap power distribution box as housing. Since the sensor is wirewrapped to the development board, the pcb fulfills just the mechanical requirement to keep the display in place.
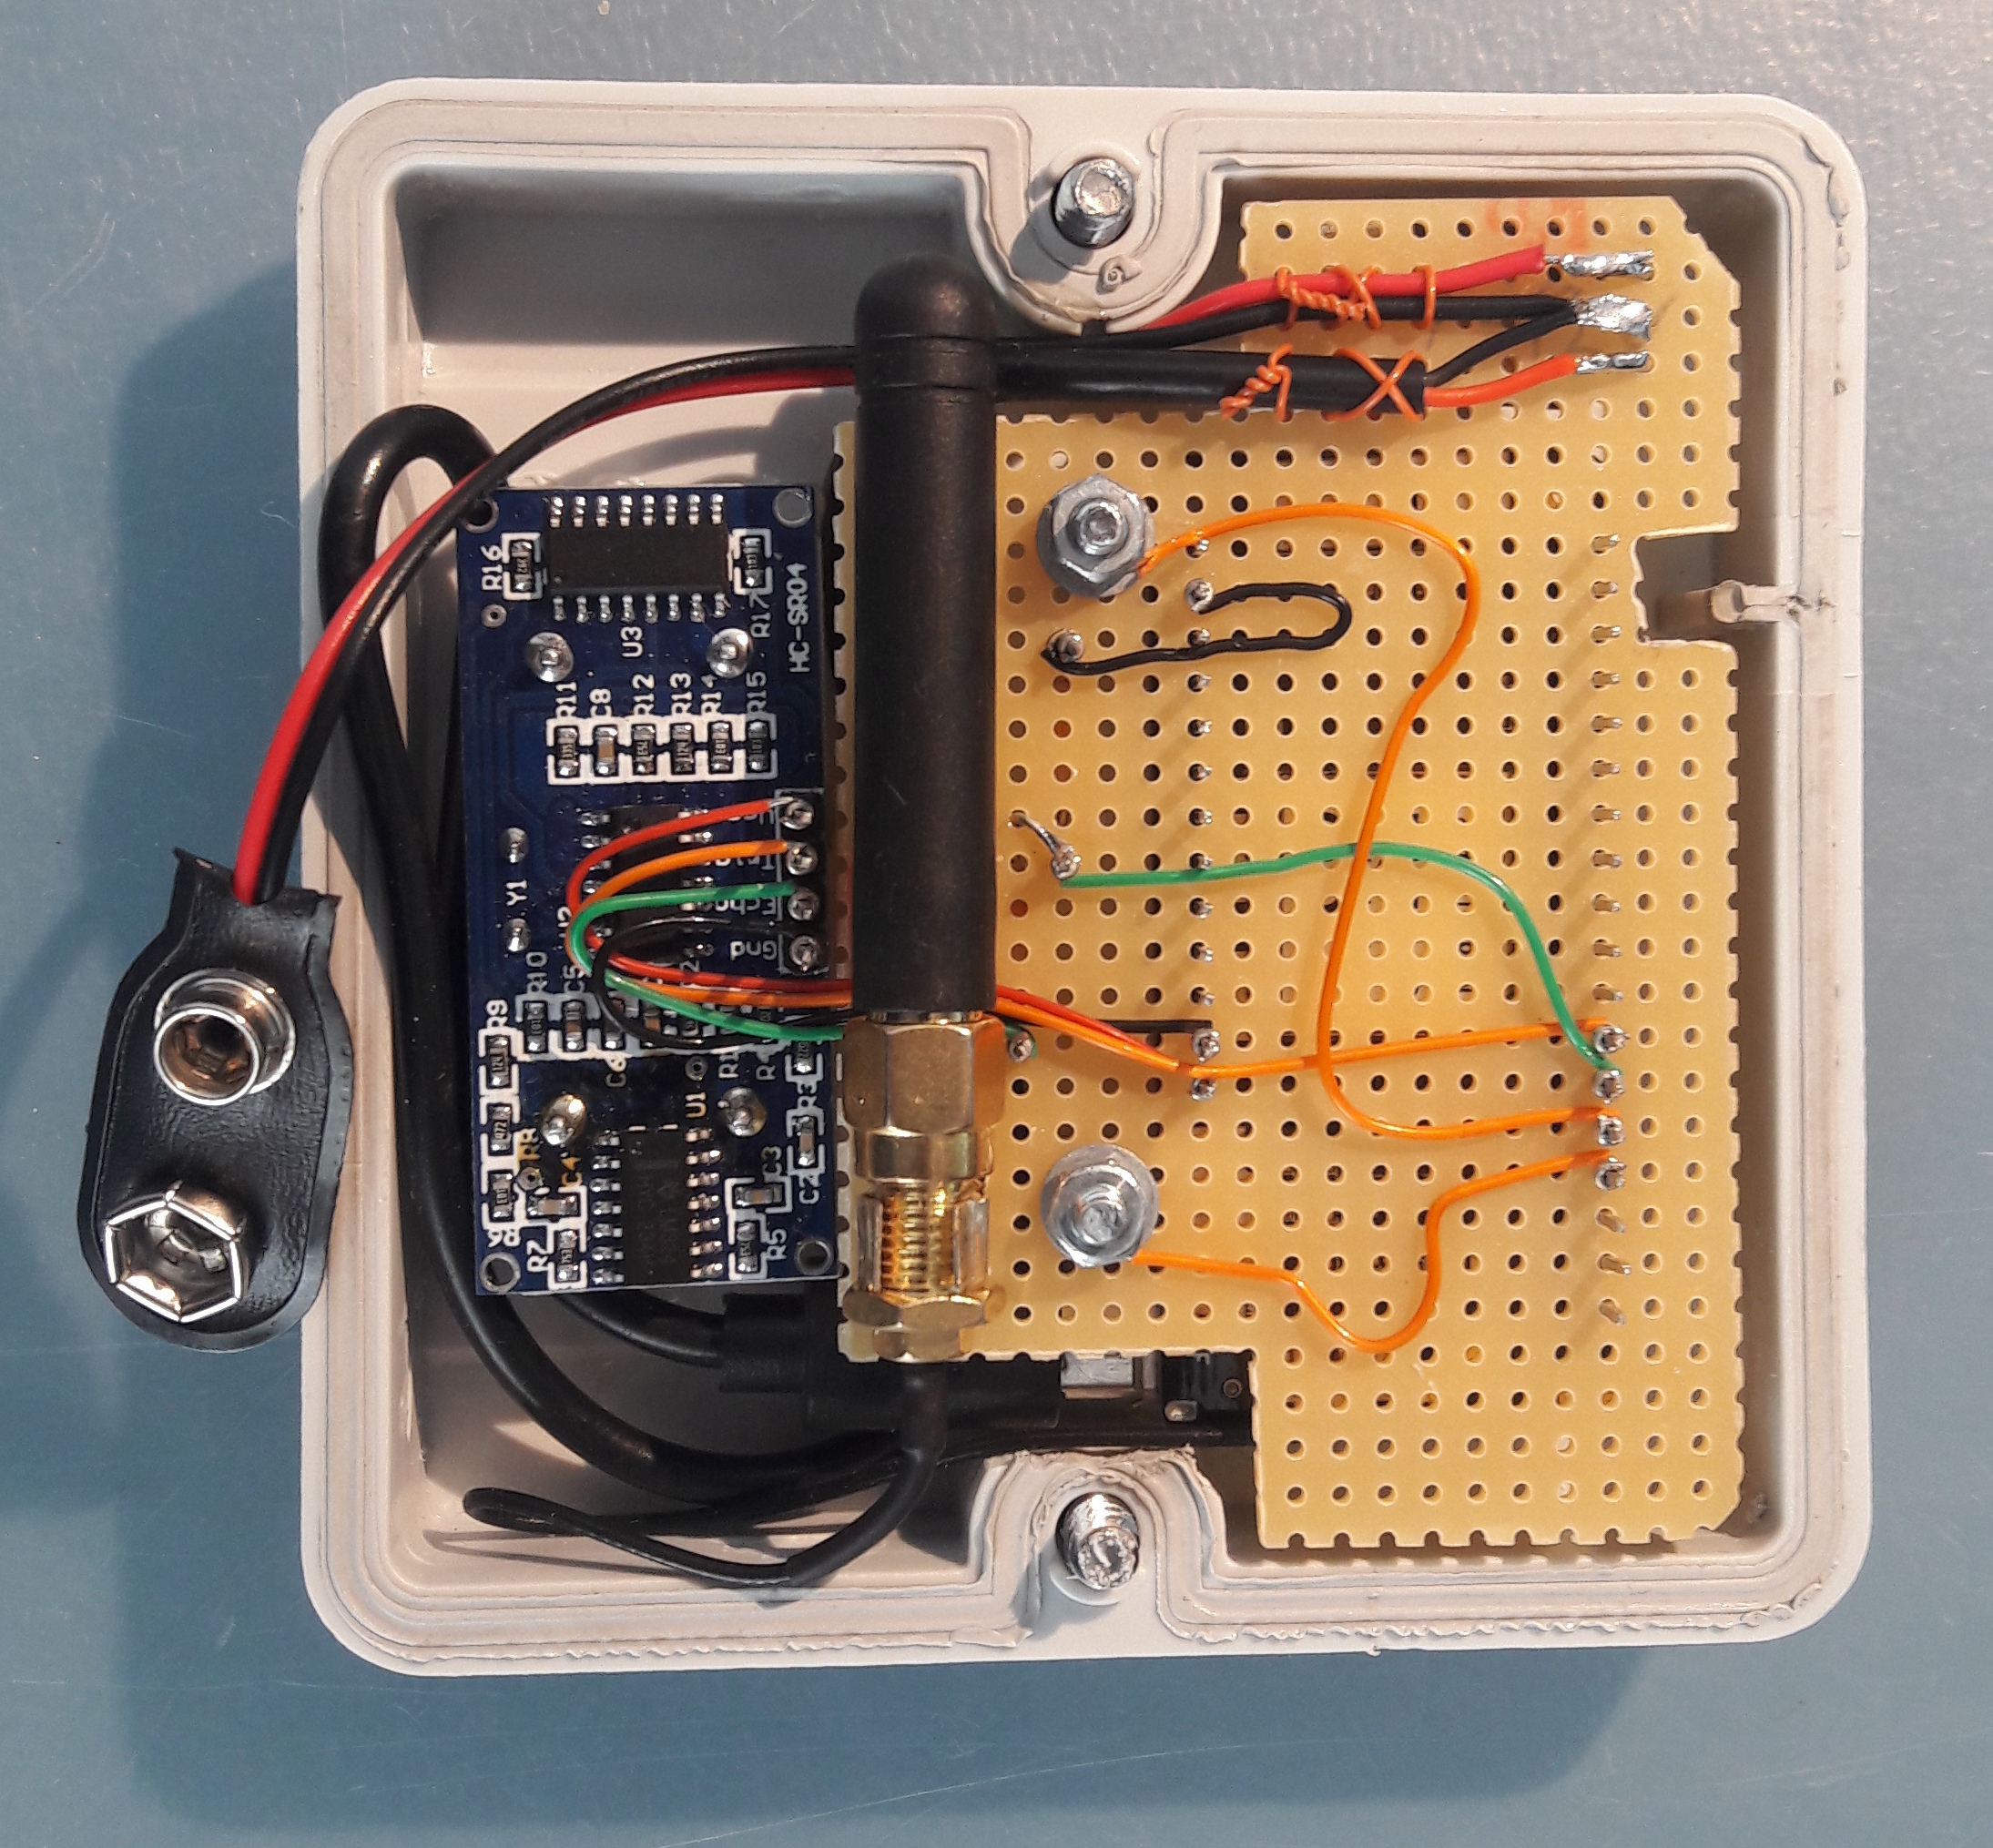
The screws in the middle are connected to the ESP32 and can be used as touch sensors in a further iteration.
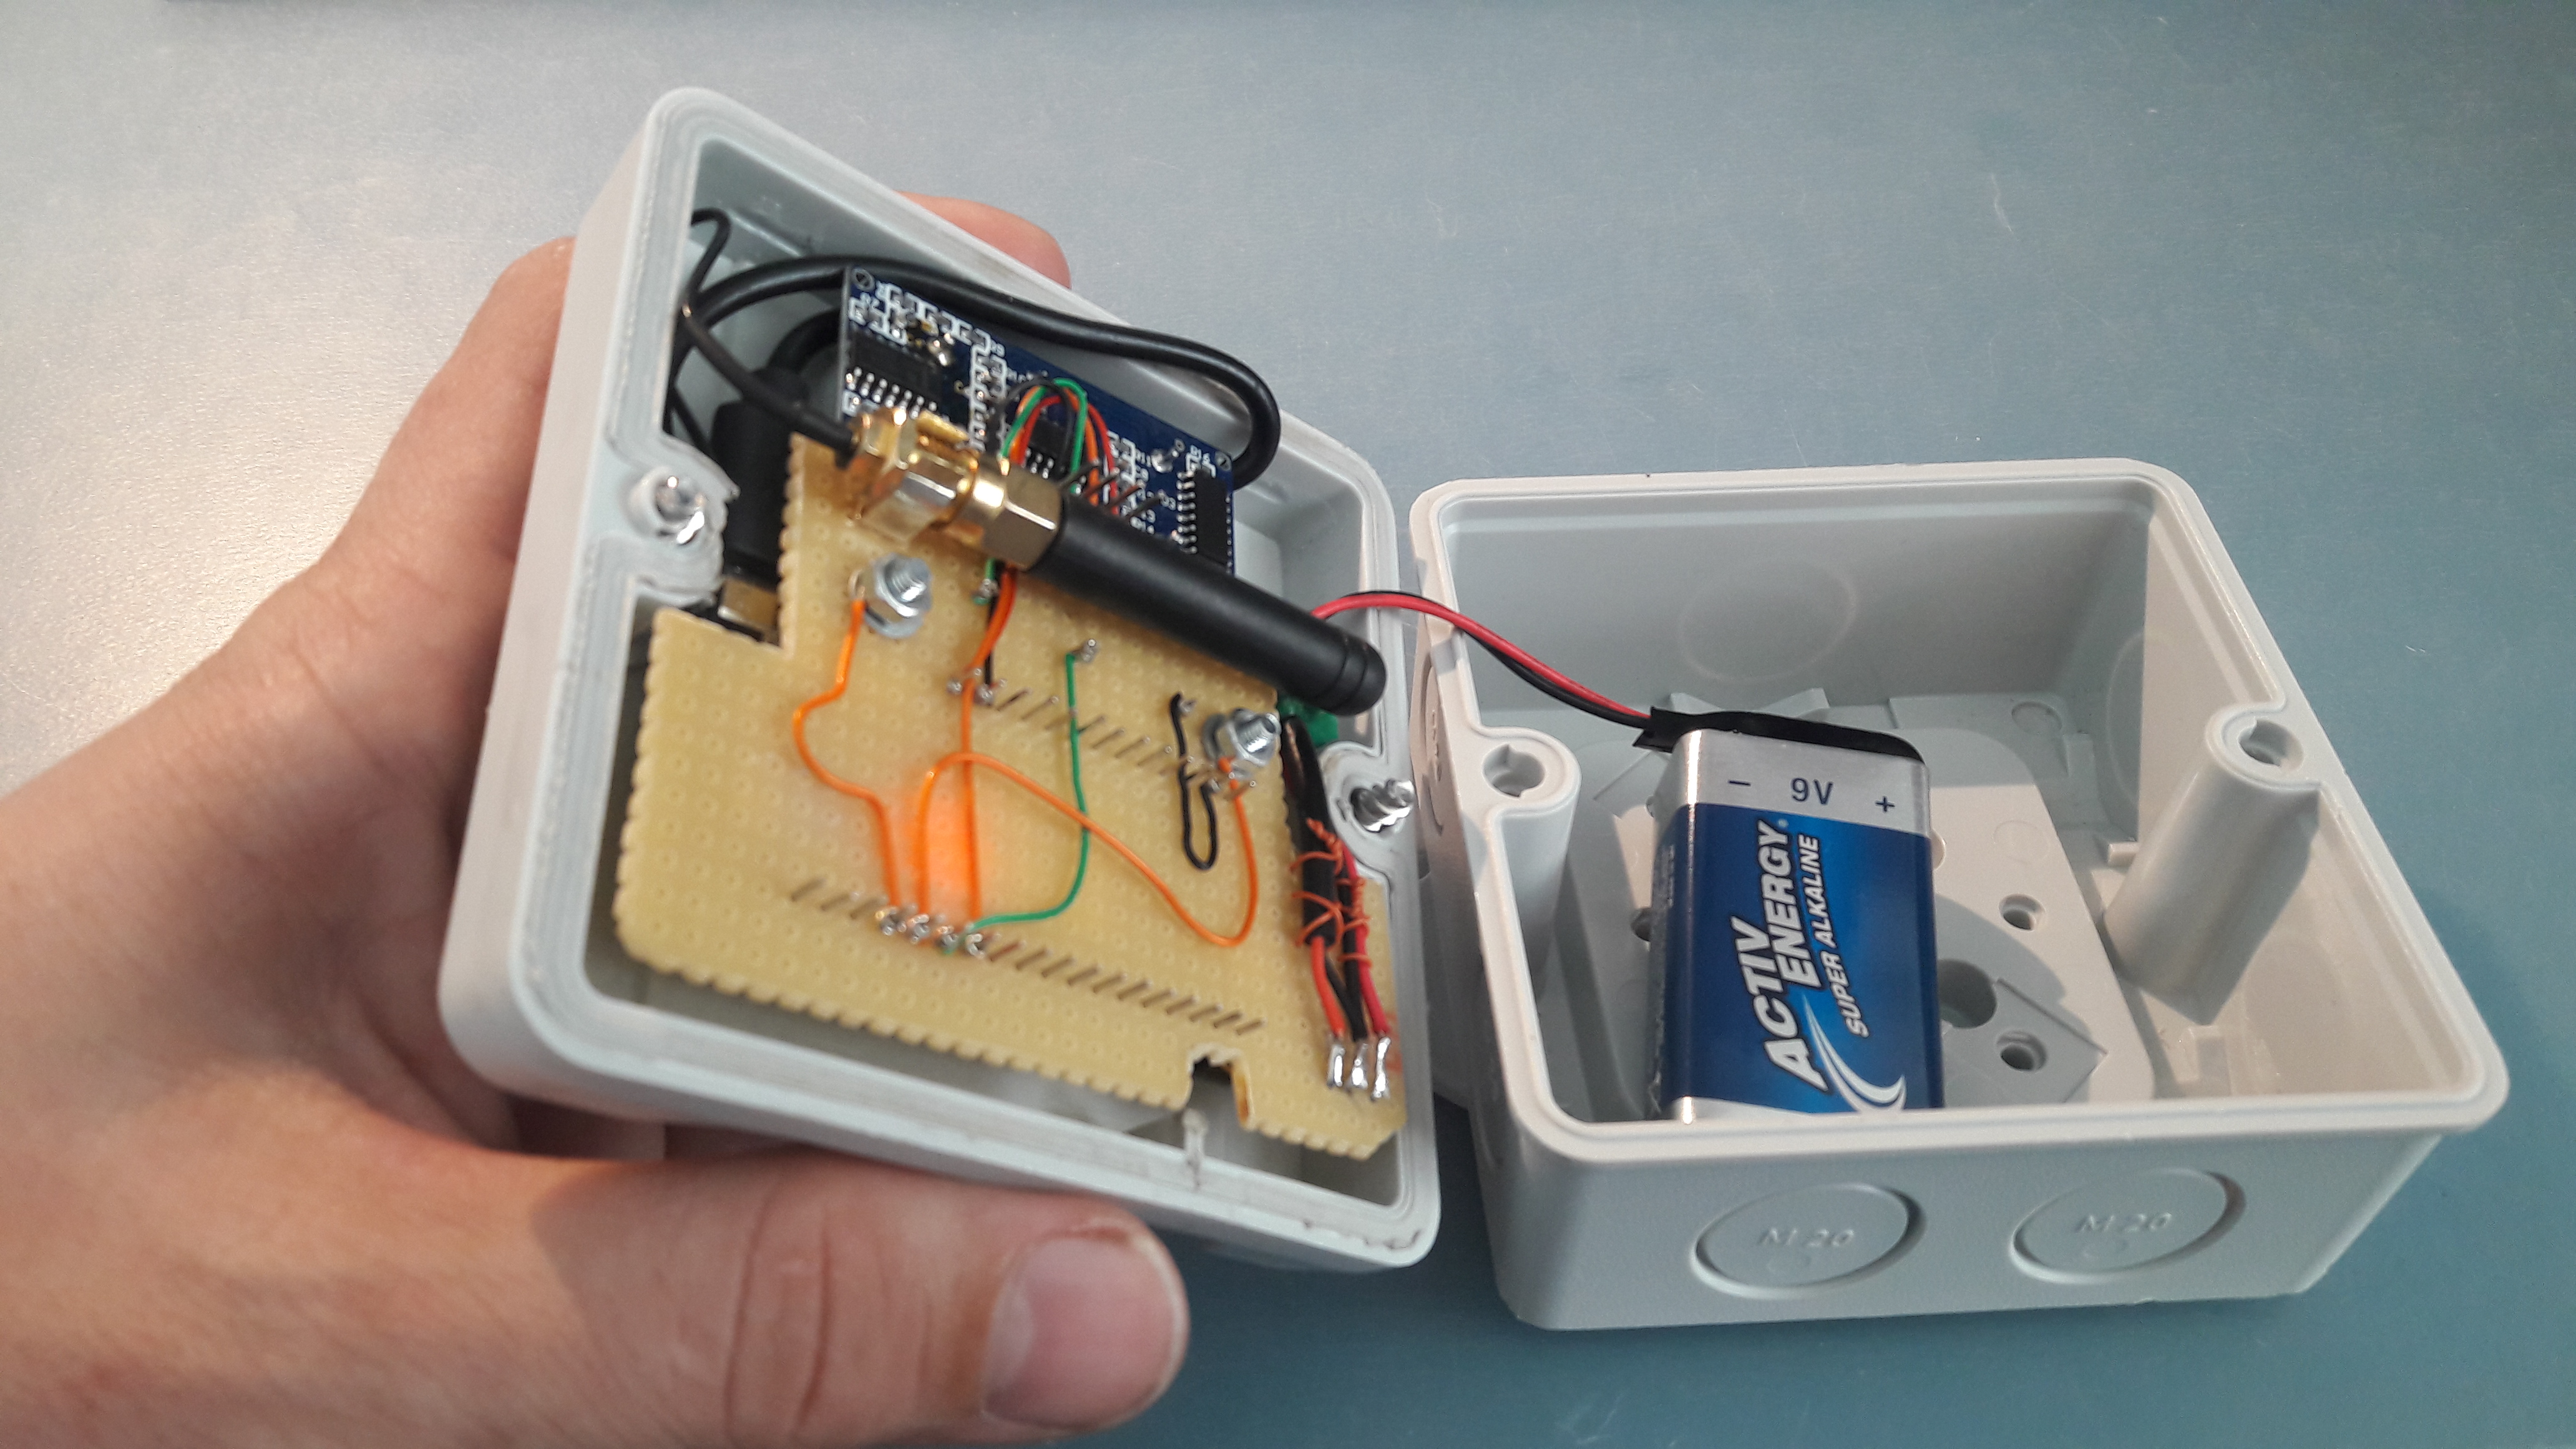
Everything is stuffed into the cover of the power distribution box. The user has the choice to run it direct from a small usb-power bank (which is useful during programming sessions) or from a 9V block cell whose voltage is fed into a 7805 and afterwards forwarded to the development board.
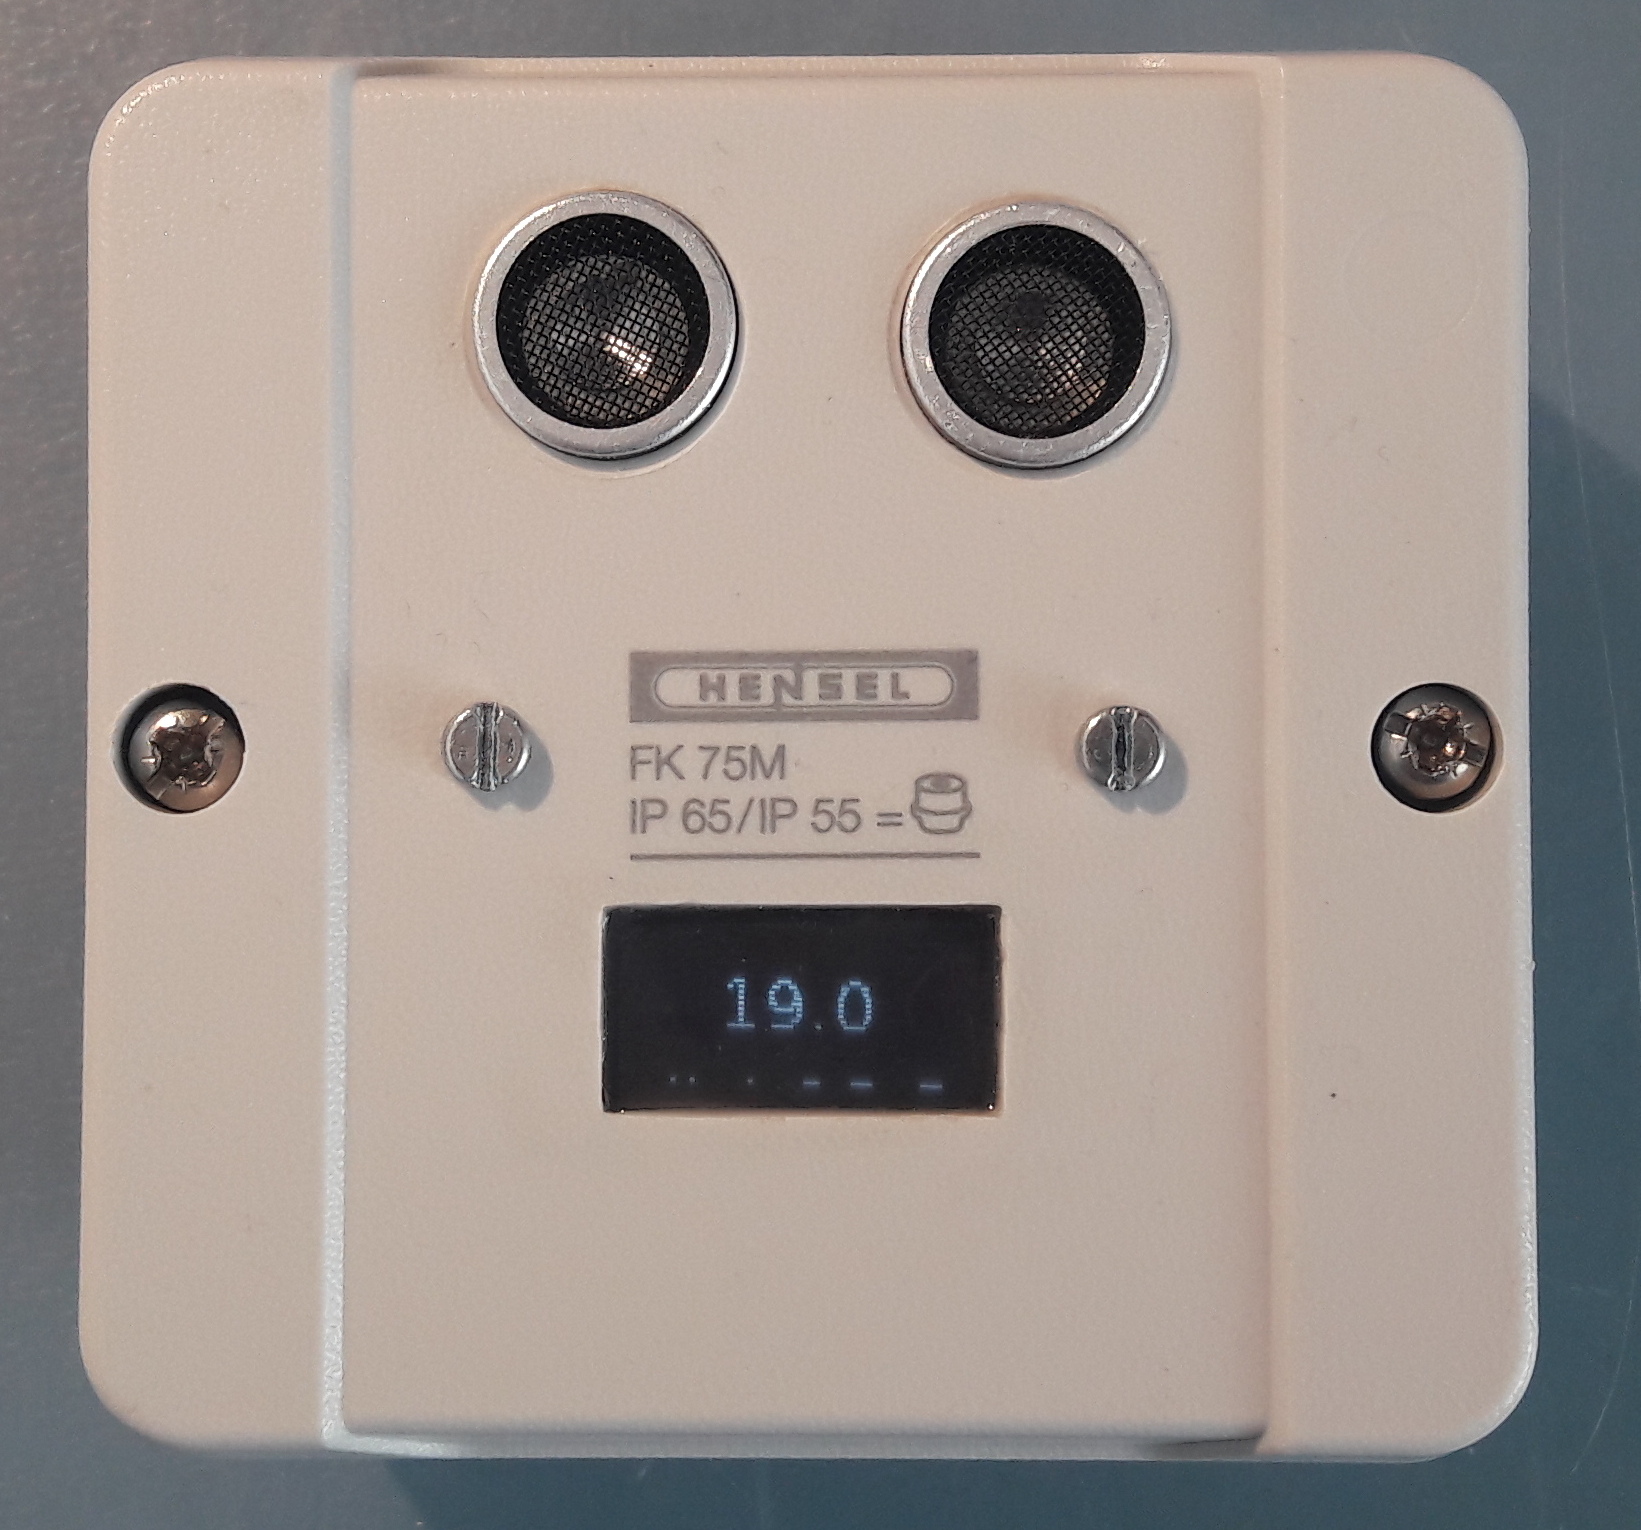
Finally it displays the distance to the nearest object one a second.
How this is exactly done can be seen in my next part of the series!
Happy hacking !