The Problem
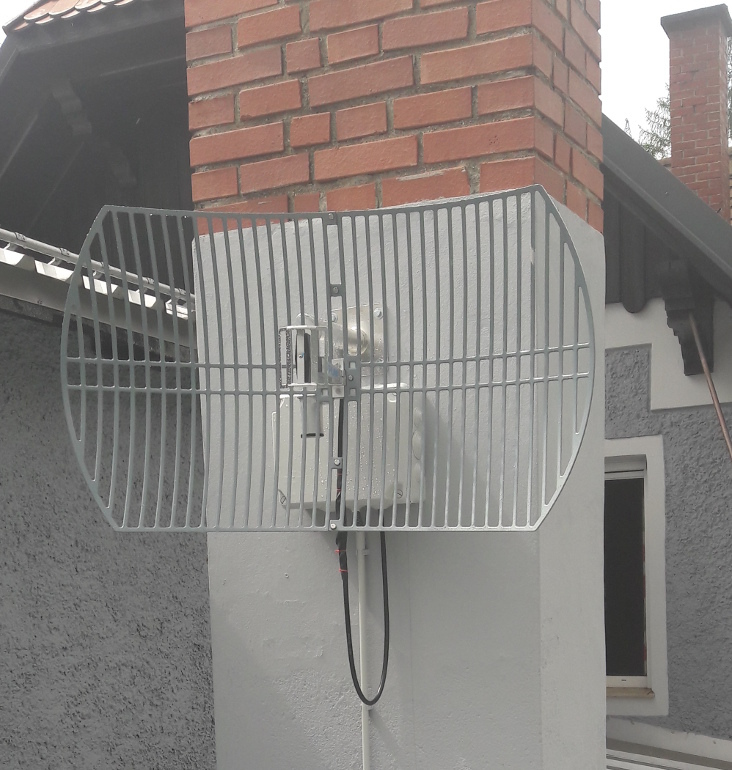
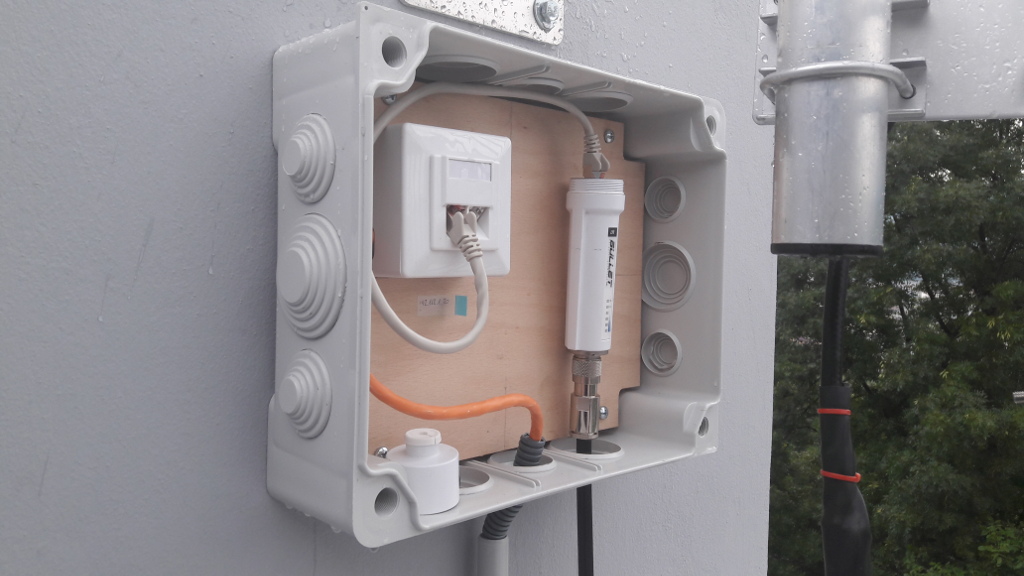
As licensed Ham radio operator I wanted to try something new. So I climbed up the roof and mounted a TP-Link 2.4 GHz Grid antenna with splashproof connections to the inside of my house.
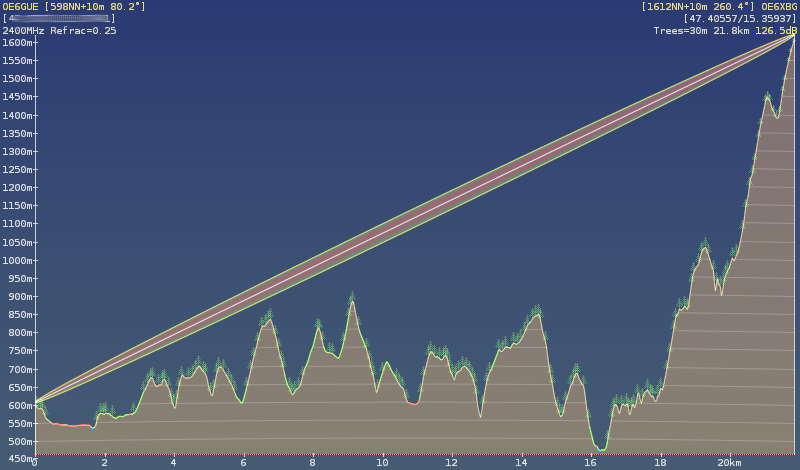
Now I had to configure the Bullet2HP to be able to connect to my nearest HAMNET, which is located approximately 22km away:
The Solution
Actually it is quiet simple to be connected:
- Look up the connection information for your gateway node and check if it is online.
In Austria this can be done in the Wiki of the OEVSV and in the HAMNET-DB. If you are unsure, then contact the operators which are listed in the hamnetdb. - Point your antenna to the node and try to get the best possible SNR
- Configure AirOS (which is the operating system of the Bullet2HP) to talk to your network.
Here are the screenshots and facts of my setup:
- My local IP of the Bullet is 192.168.5.200
- The default login data is ubnt as user and ubnt as password (change it immediately after the first login)
- I have enabled the compliance test mode for ubuquity devices to be able to set all parameters as i want them to be. Be warned: YOU NEED TO HAVE A HAM RADIO LICENSE TO MEET THE REGULATIONS - otherwise you risk a fine!
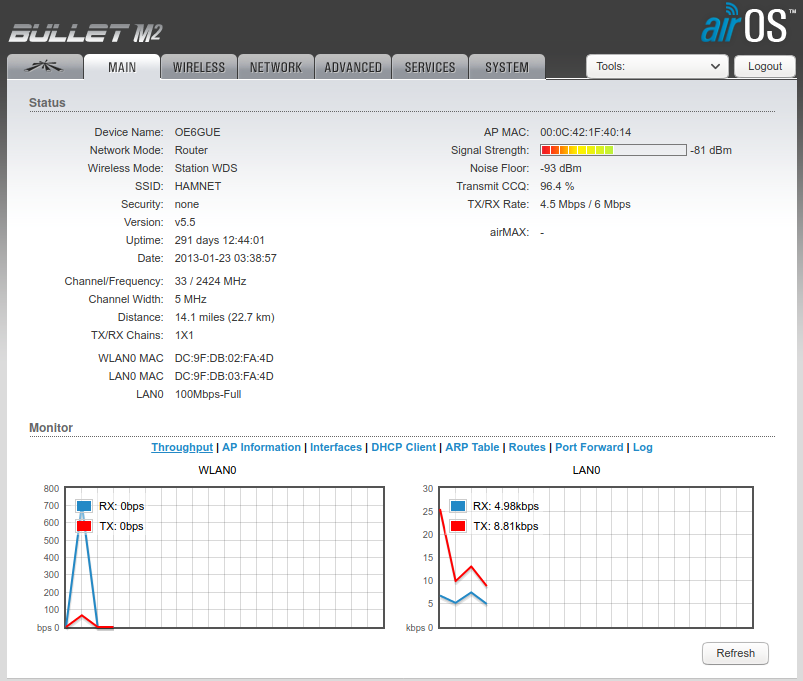
The main tab shows nothing special. Use the signal strength meter to adjust your antenna in order to maximize your SNR.
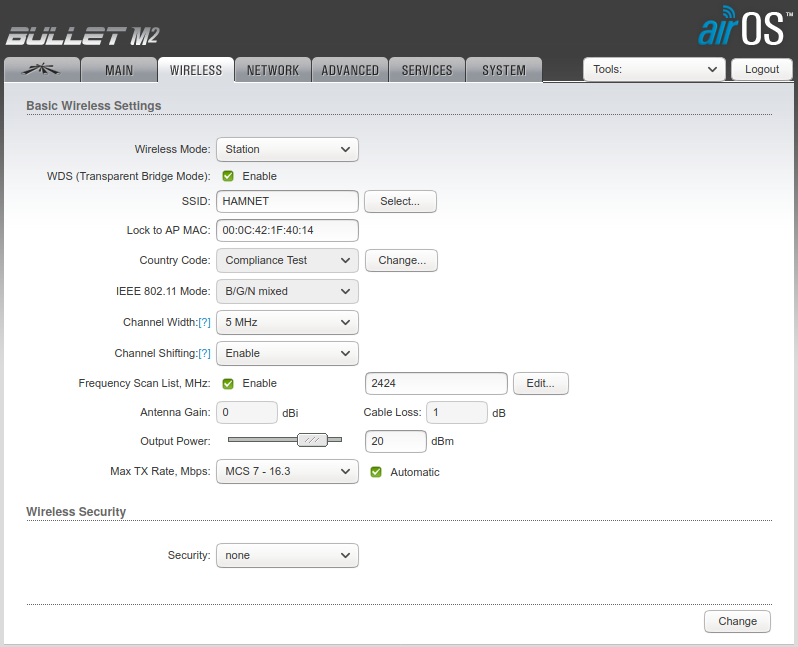
The wireless settings have to be configured to match your gateways settings. OE6XBG uses the SSID HAMNET and 5 MHz CHannel width at a frequency of 2424 MHz. This may be completely different in your location.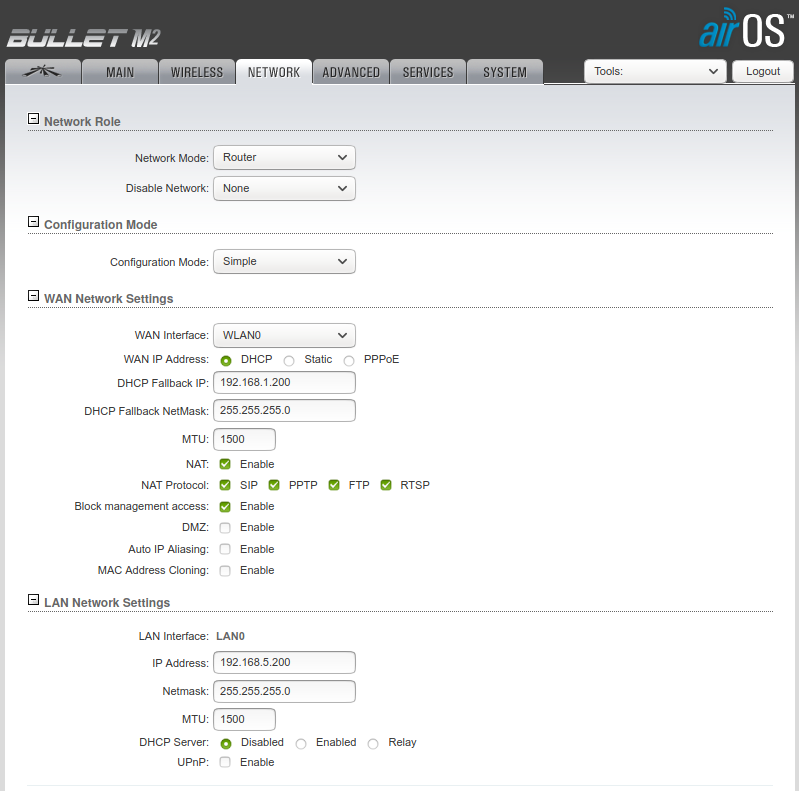
The network tab is used to configure the WAN side (facing towards HAMNET) and the LAN side (facing to your internal LAN). I choose to use a static LAN IP because then it is easy to write routes to hamnet. If you just want to connect your PC to the Hamnet then you can also use a LAN facing DHCP server - this will inject the needed routes automatically.
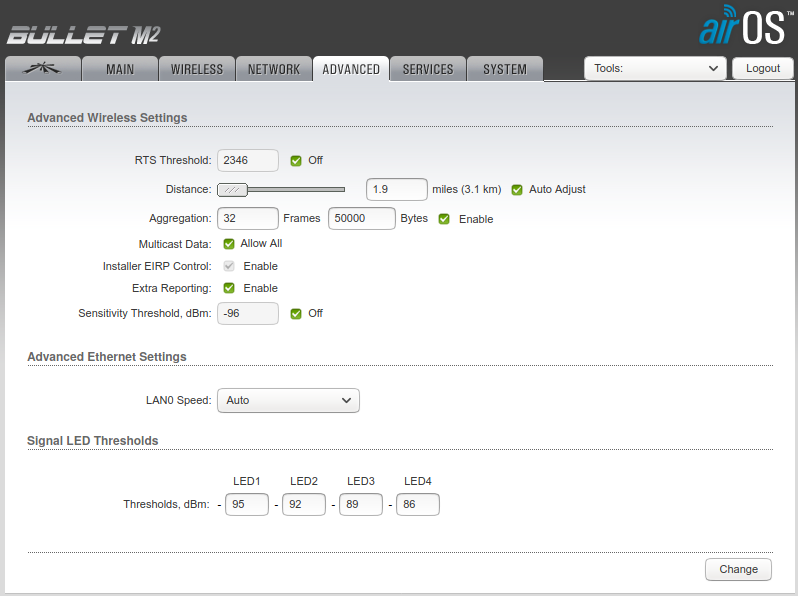
The advanced tab can be used to tweak some WiFi setting. I just used it to adjust the dBm thresholds of the LED indicators on the bullet.
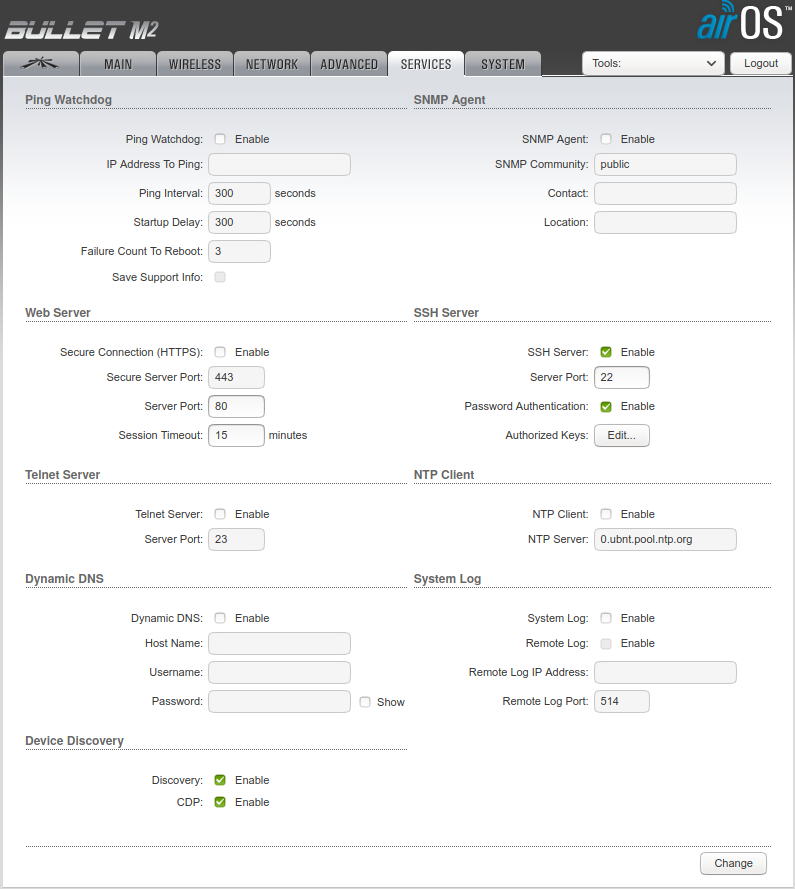
In order to minimize the attack surface try to shut off all services which are not needed.
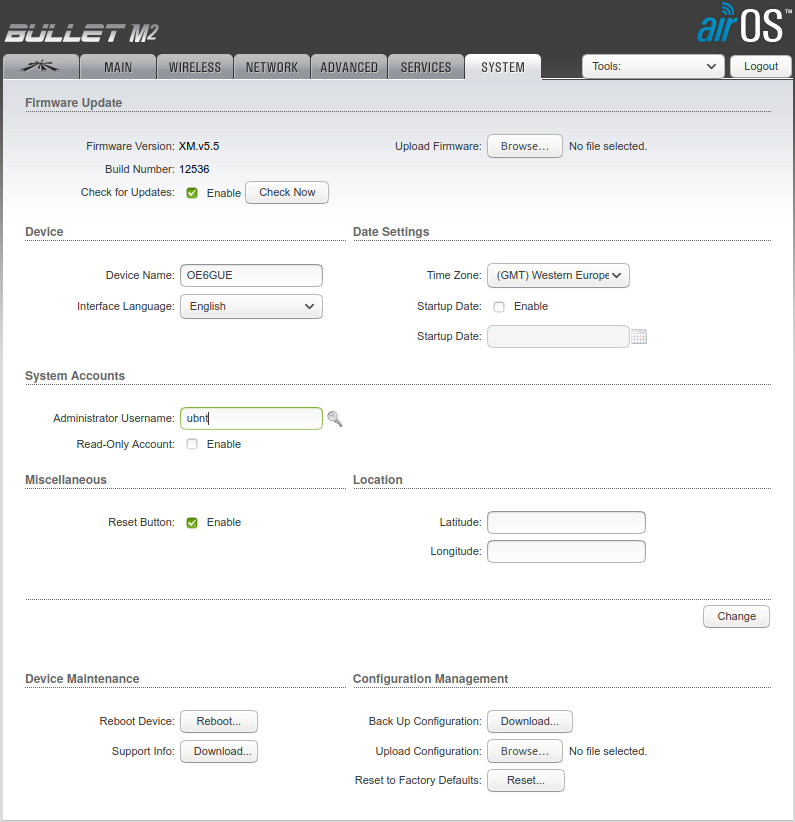
The system tab can be used to set the device name according to your callsign.
Thats it - 73, OE6GUE