Recently i had the idea to build a(nother) webcam for my club to enable the gliderpilots to observe the weather in the alps. It should be cheap, easy to build and it should have a high resolution - A perfect field of application for my underemployed raspberry pi and its camera module. Both can be orderet at RS-Components for under 50 € (excluding a housing and a power supply).
The first step was to enable the camer module on the pi, which is rather simple: Open the raspi-config tool from the Terminal
Select Enable camera and hit Enter, then go to Finish and you'll be prompted to reboot.
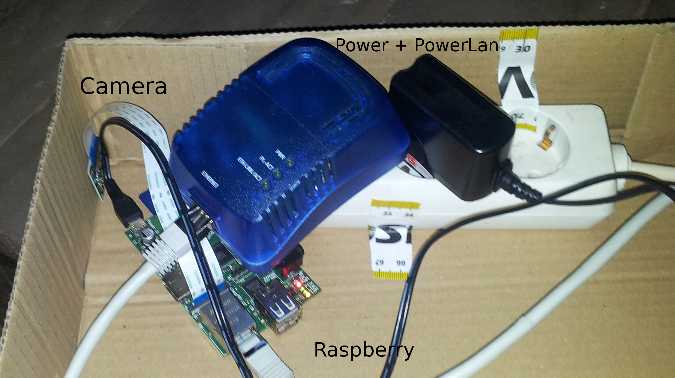
E voila - you are able to fetch images with the raspistill tool and store it to the local filesystem. Since the pi is located at an attic and therefore protected from water, snow and wind i decided to build a quick & dirty cardboard-housing for it that includes a socketboard for the raspberrys poweradapter and powerlan adapter. So it was possible to connect the whole webcam with a single cable. Finally i installed a webserver (lighttpd with its webroot at /var/www) as well as a cron script that creates new images every few minutes:
*/2 * * * * raspistill -hf -vf -w 1024 -h 768 -o /var/www/html/webcam/latest.jpg
#and a highres image every 10 minutes
*/10 * * * * raspistill -hf -vf -o /var/www/html/webcam/latest_highres.jpg
Okay - half way done: After i configured my firewall to expose the raspberry pi to my public ip - which is mapped to a static hostname via noip i am able to produce images which can be fetched via a webbrowser.
Since i dont want the whole internet to fetch webcam images over my private ADSL line i decided to involve another server that pulls the lates image periodically, watermarks it and uploads it to its final destination - a full blown webserver. Another option would be to upload the image directly to its final destination, but this images are stored for documentary purposes - so this was the simlest solution for me.
The watermarking is also a simple step and can be done with imagemagick /also on the raspberry pi):
#Build a filename
fname="/var/webcam/`date +%H.%M.%S`.jpg"
#Fetch the image
wget --output-document=$fname http://**my-raspberry**/webcam/latest.jpg
# Watermarking procedure
watermark="(c) bytebang.at, Somewhere at `date +%d-%b-%Y` - `date +%H:%M`"
#Logo
composite -gravity SouthEast /var/webcam/overlay.png $fname $fname
#Text
convert -background '#00000080' -fill white label:"$watermark" miff:- | composite -gravity south -geometry +0+3 - $fname $fname
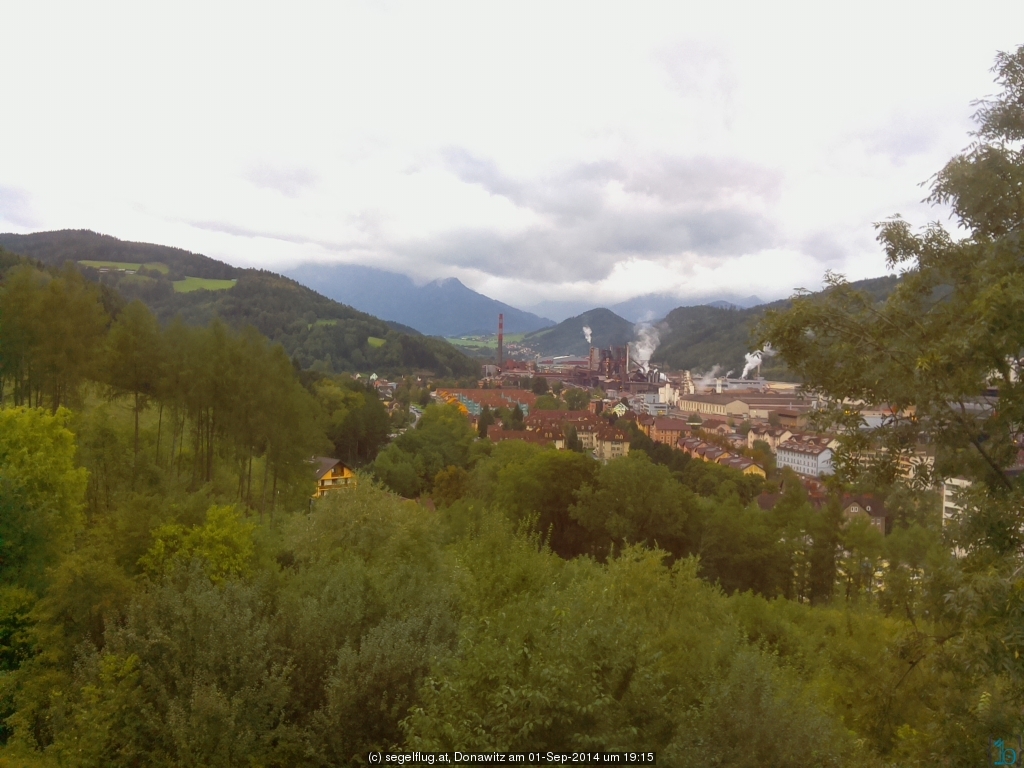
And that is the final result: