The Problem
A friend gave me an old (but working) ALIX 2d13 board. Since my SOHO router was about to die (wifi keeps disconnecting and unstable throughput on the LTE band) I decided to give it a second life as router.
I wanted to have the following features as my old router:
- LAN connection
- Internetconnection via LTE
- Wifi connection
The Solution
After a short internet research it was clear that the board itself is not the newest any more and it also does not have LTE or WIFI by default. So searched around a little and I found that I have an old broadcom wifi card with a bcm94318 chipset from an old laptop and an unbranded ZTE MF831 LTE Stick which can be used as LTE modem.
I decided to use OpenWRT as routing software, because it supports all the given hardware. The next few paragraphs describe how to set up OpenWRT on an ALIX board and which packages have to be installed in order to support the given hardware.
Step 1: Flash the firmware
First of all you need a CF Card where all the data should be stored. I took an old 4GB CF card for that. The next step is to download the most recent image of OpenWRT: Chaos Calmer 15.05.1 and unzip it
The next step was to flash it onto the CF card:
13+1 records in
13+1 records out
55050240 bytes (55 MB, 52 MiB) copied, 5,88595 s, 9,4 MB/s
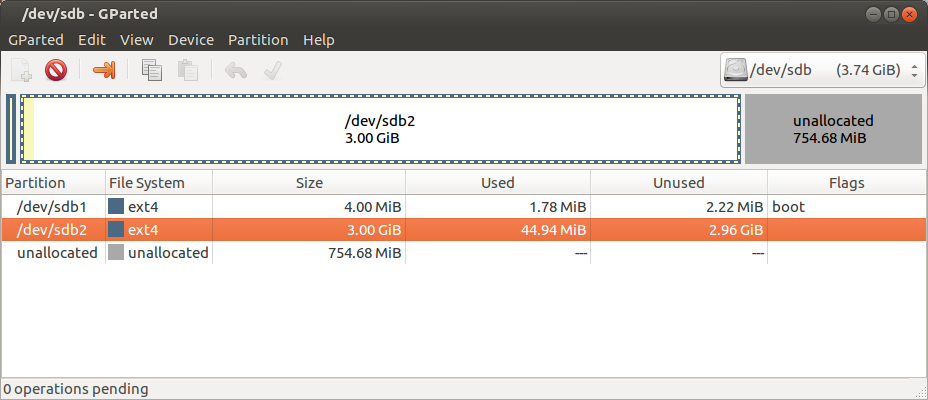
We can see that the whole image has only 55MB on the CF card. Since my CF card has 4GB storage capacity I decided to resize the second partition with gparted to 3GBytes. (well it could have been the full 4 GB - but so I have one GB free space for whatever)

Step 2: Initial setup

Put the CF Card onto the board, Plug a network cable into the right-most port (ETH0) and wait ... you will get an IP address. Mine was 192.168.1.191.
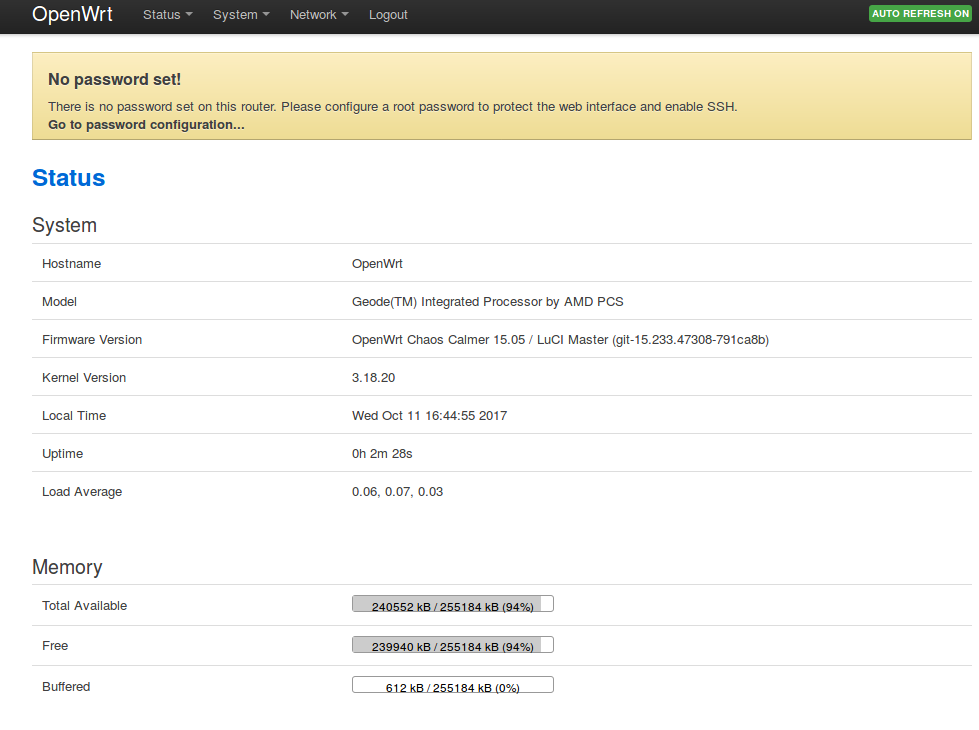
Finally you can connet to luci via http://192.168.1.1

Set a new password, a hostname and your timezone and your are done.
Step 3: Install the drivers for the additional hardware
The router has to be connected to an existing internet connection on ETH1. (ETH1 is by default configured as WAN port and waits for an IP address to be assigned) Otherwise you are not able to install new software.
WiFi
Install the following packages: kmod-b43 (might be different for your wifi card)
Reboot and create an AccessPoint where the users can connect to.
ZTE Modem
This one is a bit tricky: This modem does not show up in serial mode by default. It tries to emulate an ethernet card which makes sense for the standard usecase on a pc. According to the internet there is no real need to change that, but if you want to access some services from outside then things tend to get complicated because then you have to deal with double-NAT scenarios and so on.
So the easiest solution is to to follow the suggestions in this thread how to switch the modem permanently into the serial mode.
- Connect it to your PC
- Wait till you can reach the web interface under http//192.168.0.1
- Surf to the following URL: http://192.168.0.1/goform/goform_set_cmd_process?goformId=CONNECT_NETWORK
This switches the modem permanently into the desired serial mode, which is used by OpenWRT.
The next step is to install the following kernel modules: kmod-usb-serial-option
and for the configuration within luci: luci-proto-3g
Restart the router ans set up the 3g connection with the following parameters:
option proto '3g'
option device '/dev/ttyUSB2'
option service 'umts_only'
option apn 'drei.at'
option dialnumber '*99#'
These are the parameter which are working for my service provider (drei.at)
After a reboot we should have a router with wifi and LTE capabilities.
Step 4: Install additional software: Dynamic DNS
If you want to host services within your network which should be accessible from the outside then it is a good idea to install a dynamic dns client. I am using noip as ddns provider.
Install the following packages: ddns-scripts_no-ip_com, luci-app-ddns and configure the service as needed.


