The Problem
I want to connect a Davis Vintage 2 weatherstation to the internet. The problem is, that the software that is usually available is pretty pricy - so i went for my own solution.

The Solution
I was already using the Meteohub software package. I put a lot of effort to create all the graphs that i wanted and so I wanted to stick with it - so I had to find a way to make this software thing that it somehow has a RS232 connection to the station.
My approach looks like this:
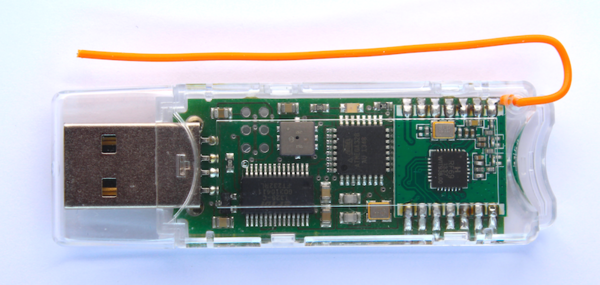
- Intercept the radio signals from the weatherstation using a MeteoStick on a Raspberry Pi which is located near the station
- Transmit the SerialData Stream (using ser2net) via TCP/IP to the meteohub virtual machine
- Trick the Meteohub virtual machine to make it think that the sensors are connected via RS232
Part 1: Fetch the data an transmit it via TCP/IP
The meteostick intercepts the radio data which is sent form the remote station of the weatherstation to the base display.
At the device where it is connected to, it presents itself as serial port where a continuous data stream containing the raw weather data can be fetched.
I set up a RaspberryPi 2 with Raspbian and installed the ser2net package on it. This enables me to fetch data which is coming from an arbitrary serial port and transmit it via TCP/IP.
I followed this guide which shows how to set up a console server with the RPi and configured it to provide the data on port 3333 of th pi wit the ip 192.168.1.162.
Part 2: Create a virtual serial port on the meteohub machine
Meteohub originally expects the meteostick to be connected directly to one of its USB ports. Since my virtual machine which runs the metehob software package is somehow dislocated this was not an an option, and I hat to create a virtual interface which behaves like any other serial port and which gets its data from the previously presented ser2net server.
At the end I created a simple script which initializes the meteostick, makes it listen on the correct frequency (Europe: 868 MHz) and to give us the data in a convenient format:
#Reset the stick
echo Resetting meteostick ...
printf "r\n" | socat TCP:192.168.1.162:3333 -
sleep 4
#Set it to the european frequency band (868MHz)
echo Setting frequency to european band ...
printf "m1\n" | socat TCP:192.168.1.162:3333 -
sleep 2
# Set the output format to something meteohub understands
echo Setting output format
printf "o2\n" | socat TCP:192.168.1.162:3333 -
sleep 2
# Map the serial port
echo Mapping serial port
socat -d -d PTY,user=meteohub,link=/dev/ttyUSB0 tcp:192.168.1.162:3333
This script is invoked at startup and from there on I was able to fetch remote weather data.
If you want to roll your own project, then have a look into the documentation of the meteostick.